ふりがな Furigana in RemNote: Three Attempts and One CSS Trick
Furigana (振り仮名) are
the small hiragana
annotations above kanji
that show pronunciation.
Essential for learners
but invisible to most
Japanese study apps.
I have been using RemNote for everything — notes, flashcards, language learning. It is genuinely the best tool I have found for spaced repetition. But there is one gap that kept bothering me: furigana.
When you are learning Japanese, you constantly need the reading (hiragana) printed above kanji. Native readers don’t need it, but for learners it is the difference between reading a sentence and staring at a wall of beautiful symbols you cannot decode.
RemNote has no built-in furigana support. So I tried to add it myself. Three times.
Why Furigana Matters
Before diving into the attempts, let me show you the result we are working toward. This is what furigana looks like in a RemNote card — the small hiragana reading sitting above the highlighted kanji:
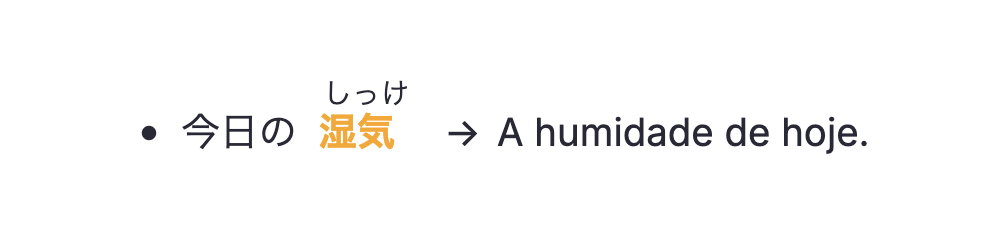
The word 港气 (shikke, humidity) shows its reading しっけ above the kanji. Simple, clean, readable. Getting here took three attempts.
The Journey
My first instinct was the "right" engineer's answer: write a RemNote plugin that
intercepts the card renderer and rewrites REM text nodes into proper HTML
<ruby><rb>港气</rb><rt>しっけ</rt></ruby> elements.
The HTML <ruby> element was literally designed for this — it is the
semantic, accessible, correct solution.
The problem: RemNote's plugin API gives you a lot of power over custom widgets, but not fine-grained control over the inline text rendering of existing REM nodes. You can add sidebars, power-up panes, custom views — but intercepting and rewriting the core editor's inline text is a different story. The DOM is re-rendered by a React virtual DOM and your mutations get blown away on the next update cycle. After a couple of evenings I had a prototype that worked for exactly one second before being wiped.
Fine. If I cannot inject HTML automatically, I will type it manually.
RemNote lets you embed HTML in a REM via a special code block.
I could write the full <ruby> markup directly in each card.
This technically worked. But typing raw HTML into every flashcard is not
a workflow — it is punishment. For a vocabulary deck of a few hundred words,
this would mean writing something like
<ruby><rb>X</rb><rt>Y</rt></ruby>
hundreds of times. The whole point of RemNote is fast capture.
Making every card a 30-second HTML exercise defeats the purpose entirely.
RemNote has a native superscript formatting shortcut. And RemNote lets you inject custom CSS into your workspace. What if I styled the superscript so that instead of appearing after and above the preceding text, it appeared directly above it — like furigana?
The workflow: write the kanji, then immediately write the reading as a superscript. The CSS pulls the superscript up and left so it hovers above the kanji. No plugin, no raw HTML, no build step. Two keystrokes in RemNote.
How the CSS Trick Works
RemNote superscripts get
the class .rn-superscript.
Because we only change
positioning (not display),
the text still reads
correctly and the
card still exports fine.
The entire solution is four lines of CSS injected into RemNote’s custom CSS field:
.rn-superscript {
    position: absolute;
    margin-top: -4px;
    margin-left: -30px;
}
Click on each property below to understand what it does:
Property breakdown — hover any line
Without this, the superscript sits inline after the kanji. Absolute positioning lets us freely move it with margin-top / margin-left.
A negative top margin moves it above the baseline of the parent text. Combined with the browser's default superscript vertical-align, it lands just above the kanji character.
Without this, the reading would appear above the space after the kanji. −30px pulls it back to sit above the kanji itself. You may need to adjust this based on the font size and kanji width.
-30px value is calibrated for RemNote's
default font at the default zoom level. If you use a larger font or have zoomed in,
you may need to increase this value. Try increments of 5px until the reading
centres over the kanji.
What it looks like in the editor
The reading is written as a superscript right after the kanji. In the rendered card, CSS repositions it to appear above:
Try It: Build Your Own Furigana Card
Type any kanji and its
reading below to preview
what the RemNote card
will look like with the
CSS applied. Multiple
words appear in sequence.
Add words to build a sentence and preview the final RemNote card:
ふりがな card builder
How to Apply It in RemNote
// 1. Open RemNote Settings → Appearance → Custom CSS
// 2. Paste the following:

.rn-superscript {
    position: absolute;
    margin-top: -4px;
    margin-left: -30px;
}

// 3. In any REM, type the kanji normally.
// 4. Immediately after, use the superscript shortcut:
//    Mac:     Cmd + Shift + .
//    Windows: Ctrl + Shift + .
// 5. Type the hiragana reading.
// 6. Press the superscript shortcut again to exit superscript mode.
Method Comparison
| Method | Works? | Fast to use? | No plugin needed? | Exports cleanly? |
|---|---|---|---|---|
| ① Plugin (ruby HTML) | ✗ | ✓ | ✗ | ✓ |
| ② Manual HTML | ~ | ✗ | ✓ | ✓ |
| ③ CSS + superscript | ✓ | ✓ | ✓ | ✓ |
The Lesson
The most elegant solution was not the one that used the right HTML element
(<ruby>). It was the one that worked within RemNote’s actual constraints —
using a feature that already existed (superscript), combined with a CSS repositioning trick
that required zero changes to the app.
Sometimes the best engineering is not about adding new code, but about finding the right angle on existing primitives.
港气のように、真実はしばしば表顔にある。
(Like humidity — the solution was right there on the surface.)